#ArtAtHome Workshop: Sign Making
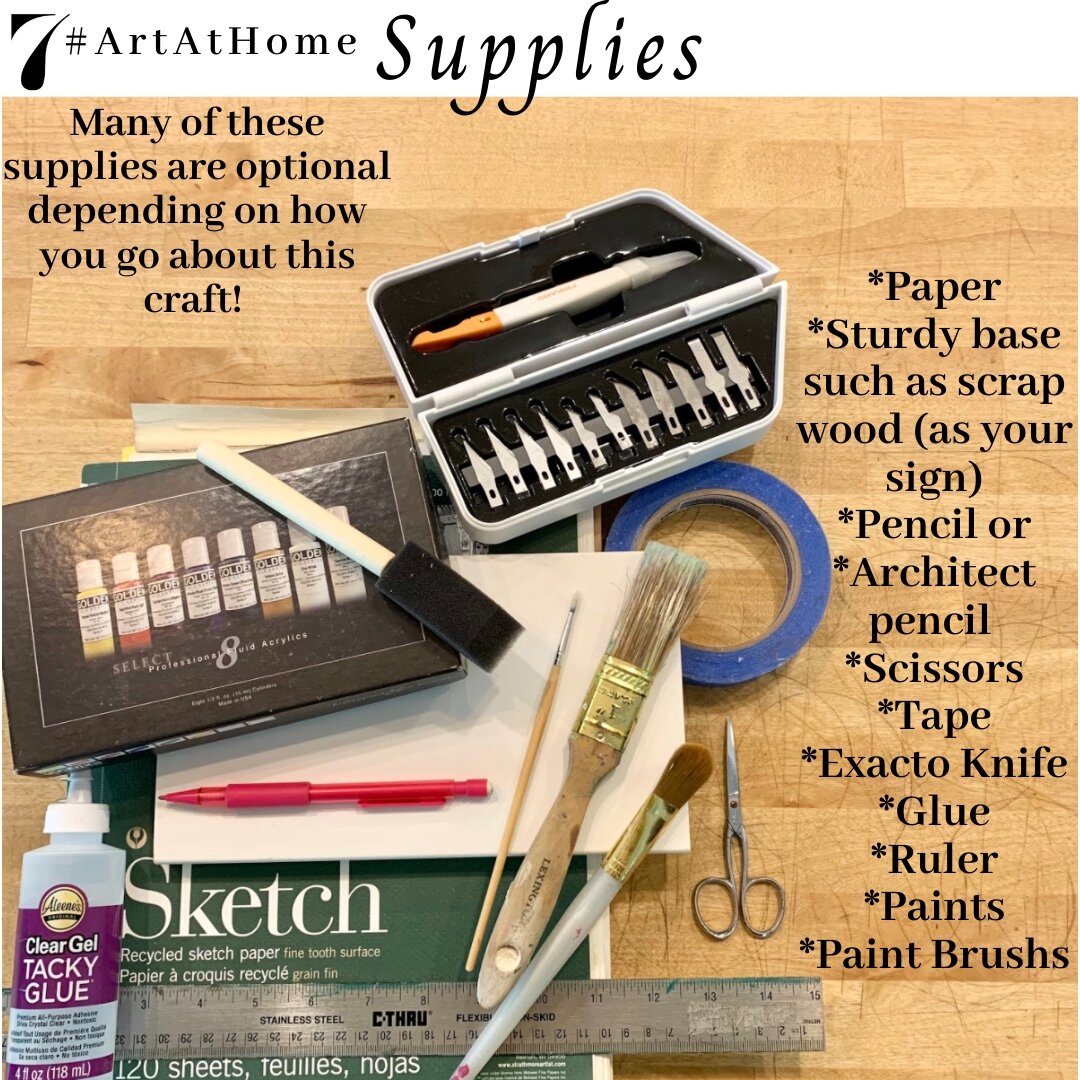
Supply List:
1) Paper
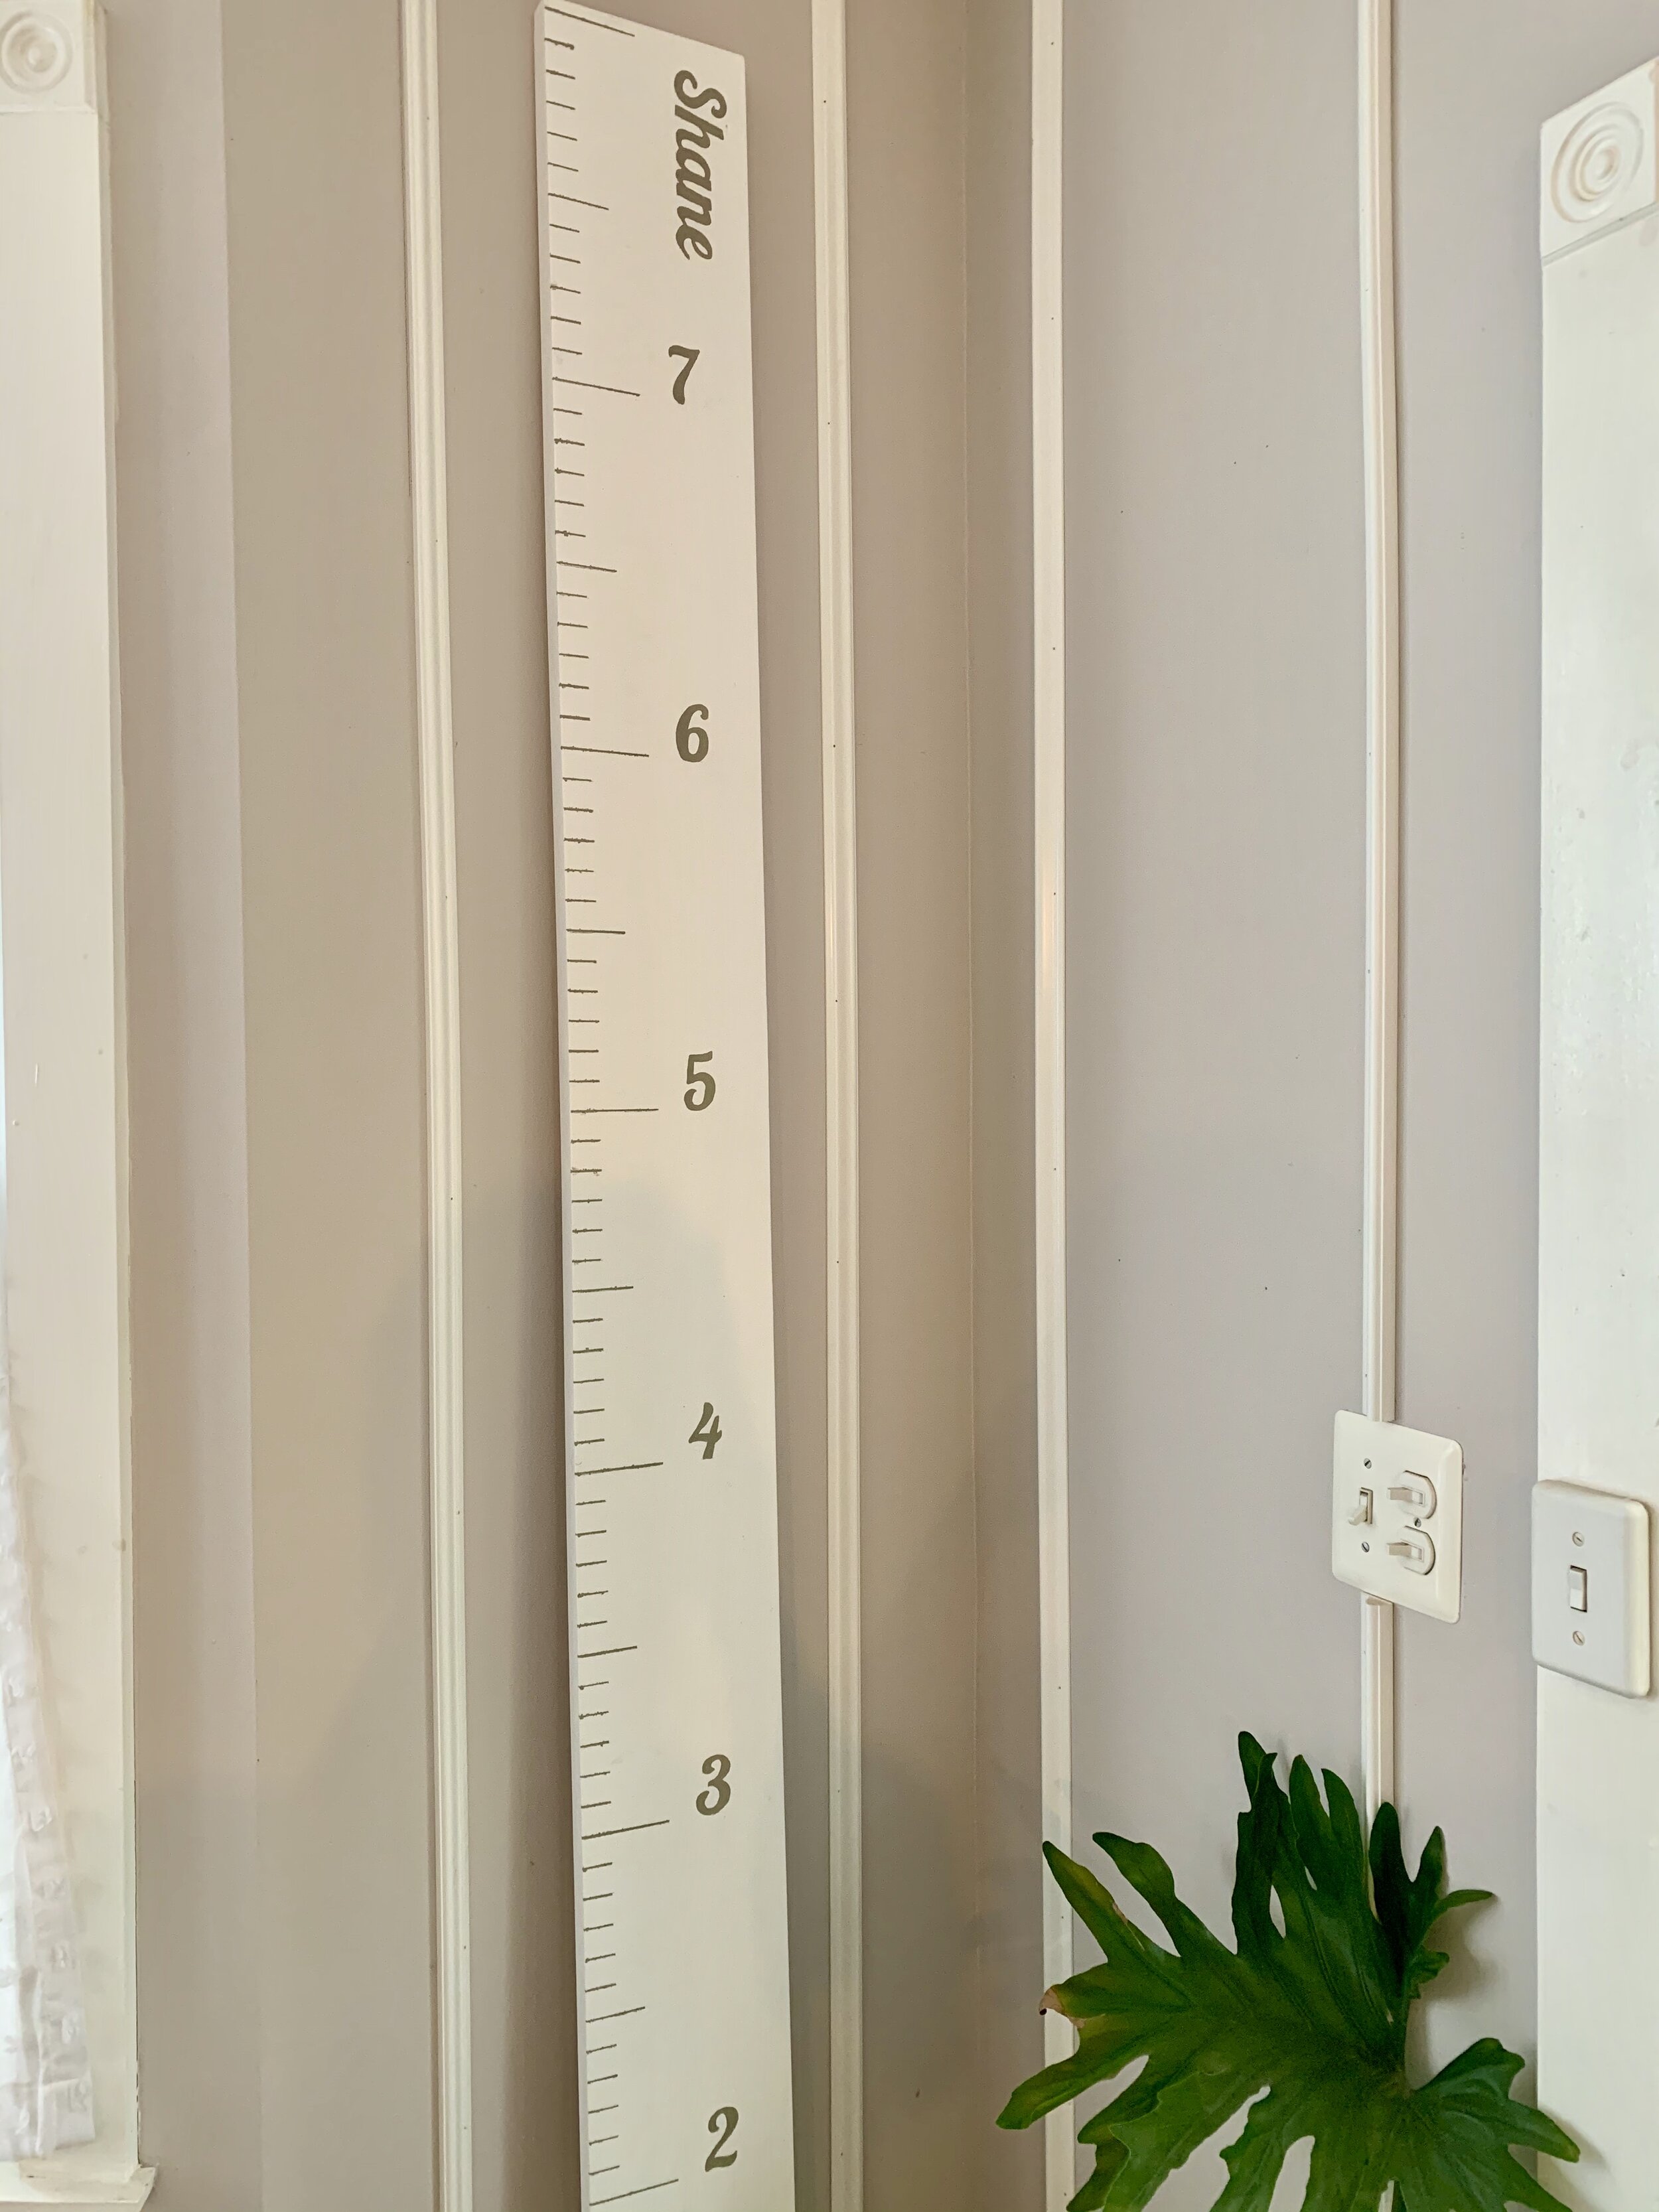
2) Sturdy base such as scrap wood (for your sign)
3) Pencil or architect pencil
4) Scissors
5) tape
6) Exacto knife
7) Glue
8) Ruler
9) Paints
10) Paint Brushes
Instructions:
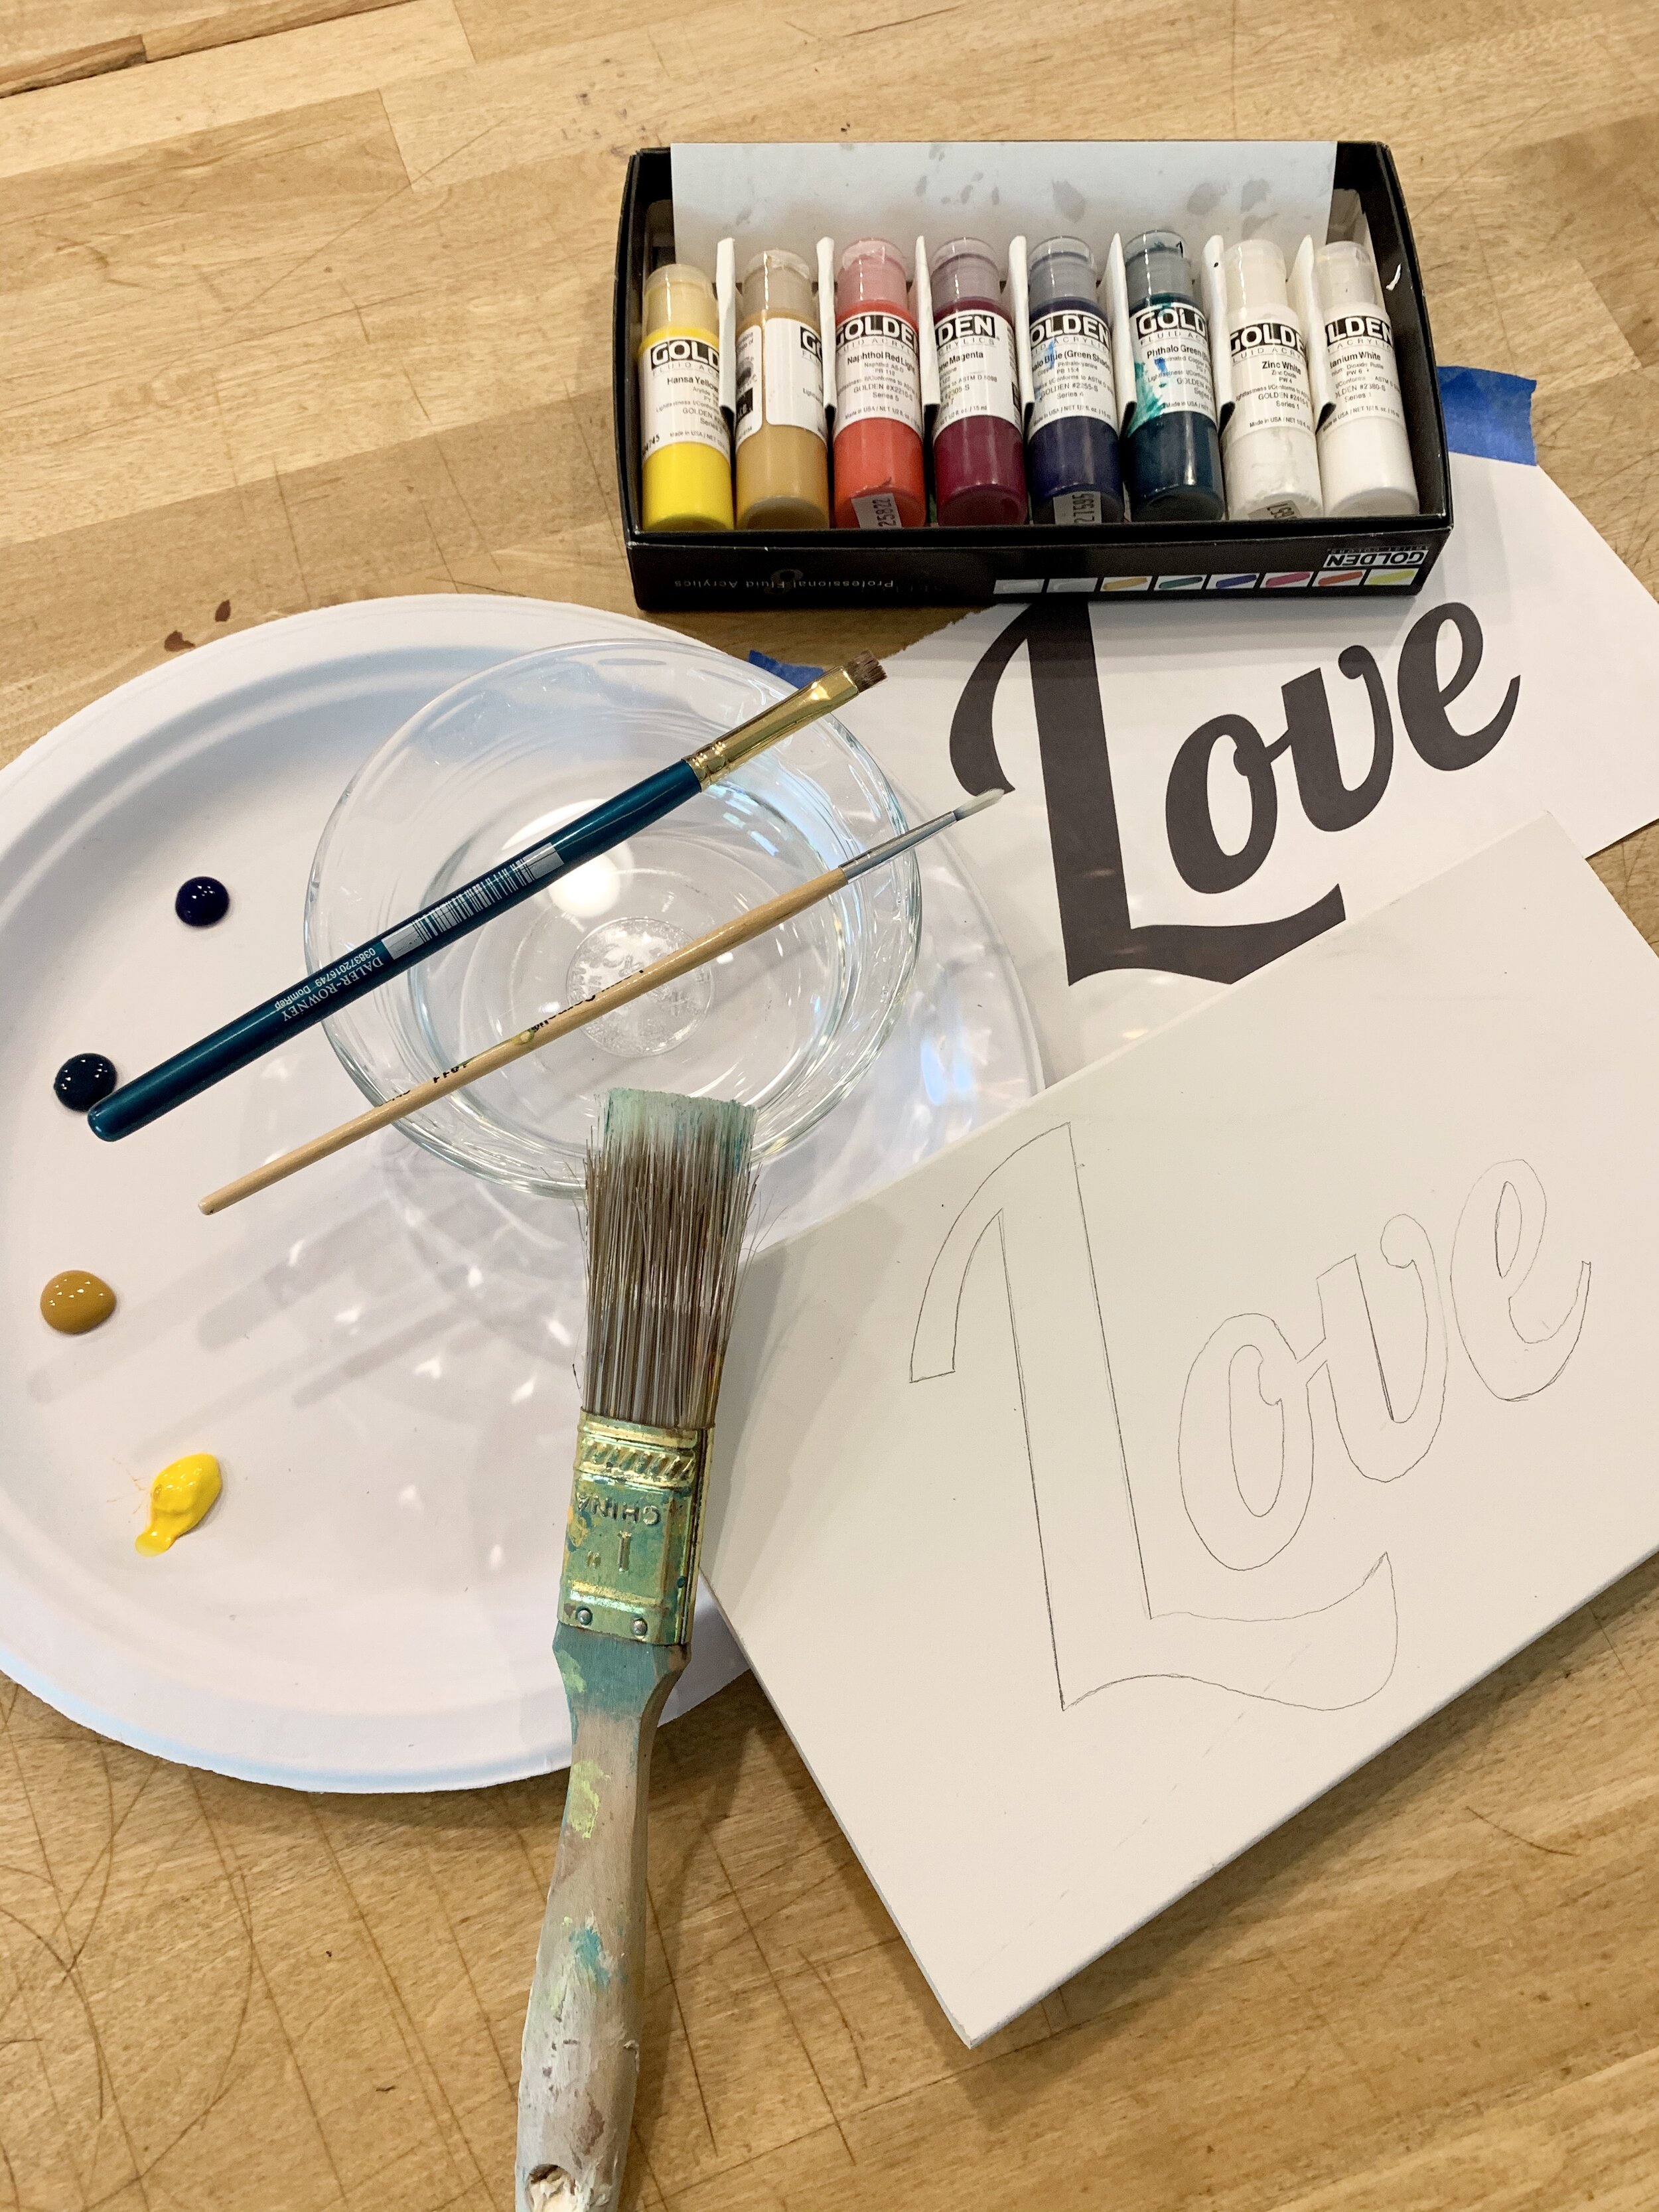
1. Create your design on a computer using Word or another platform. The larger the better!
2. Print out your design and trace your design over your wood by either cutting out the letters or using the pencil or exacto knife to make a stencil on the wood. If you don't have a printer for your design, you can simply lay paper over your computer screen and trace with a pen or pencil onto the paper.
3. Gather some paints, paint brushes, a bowl of water and paper towels to paint your design.
Tips: For best results, do two coats of paint.
If you are left handed you'll want to paint from right to left.
If you are right handed you’ll want to paint from left to
right.
This will prevent you from dragging through the paint
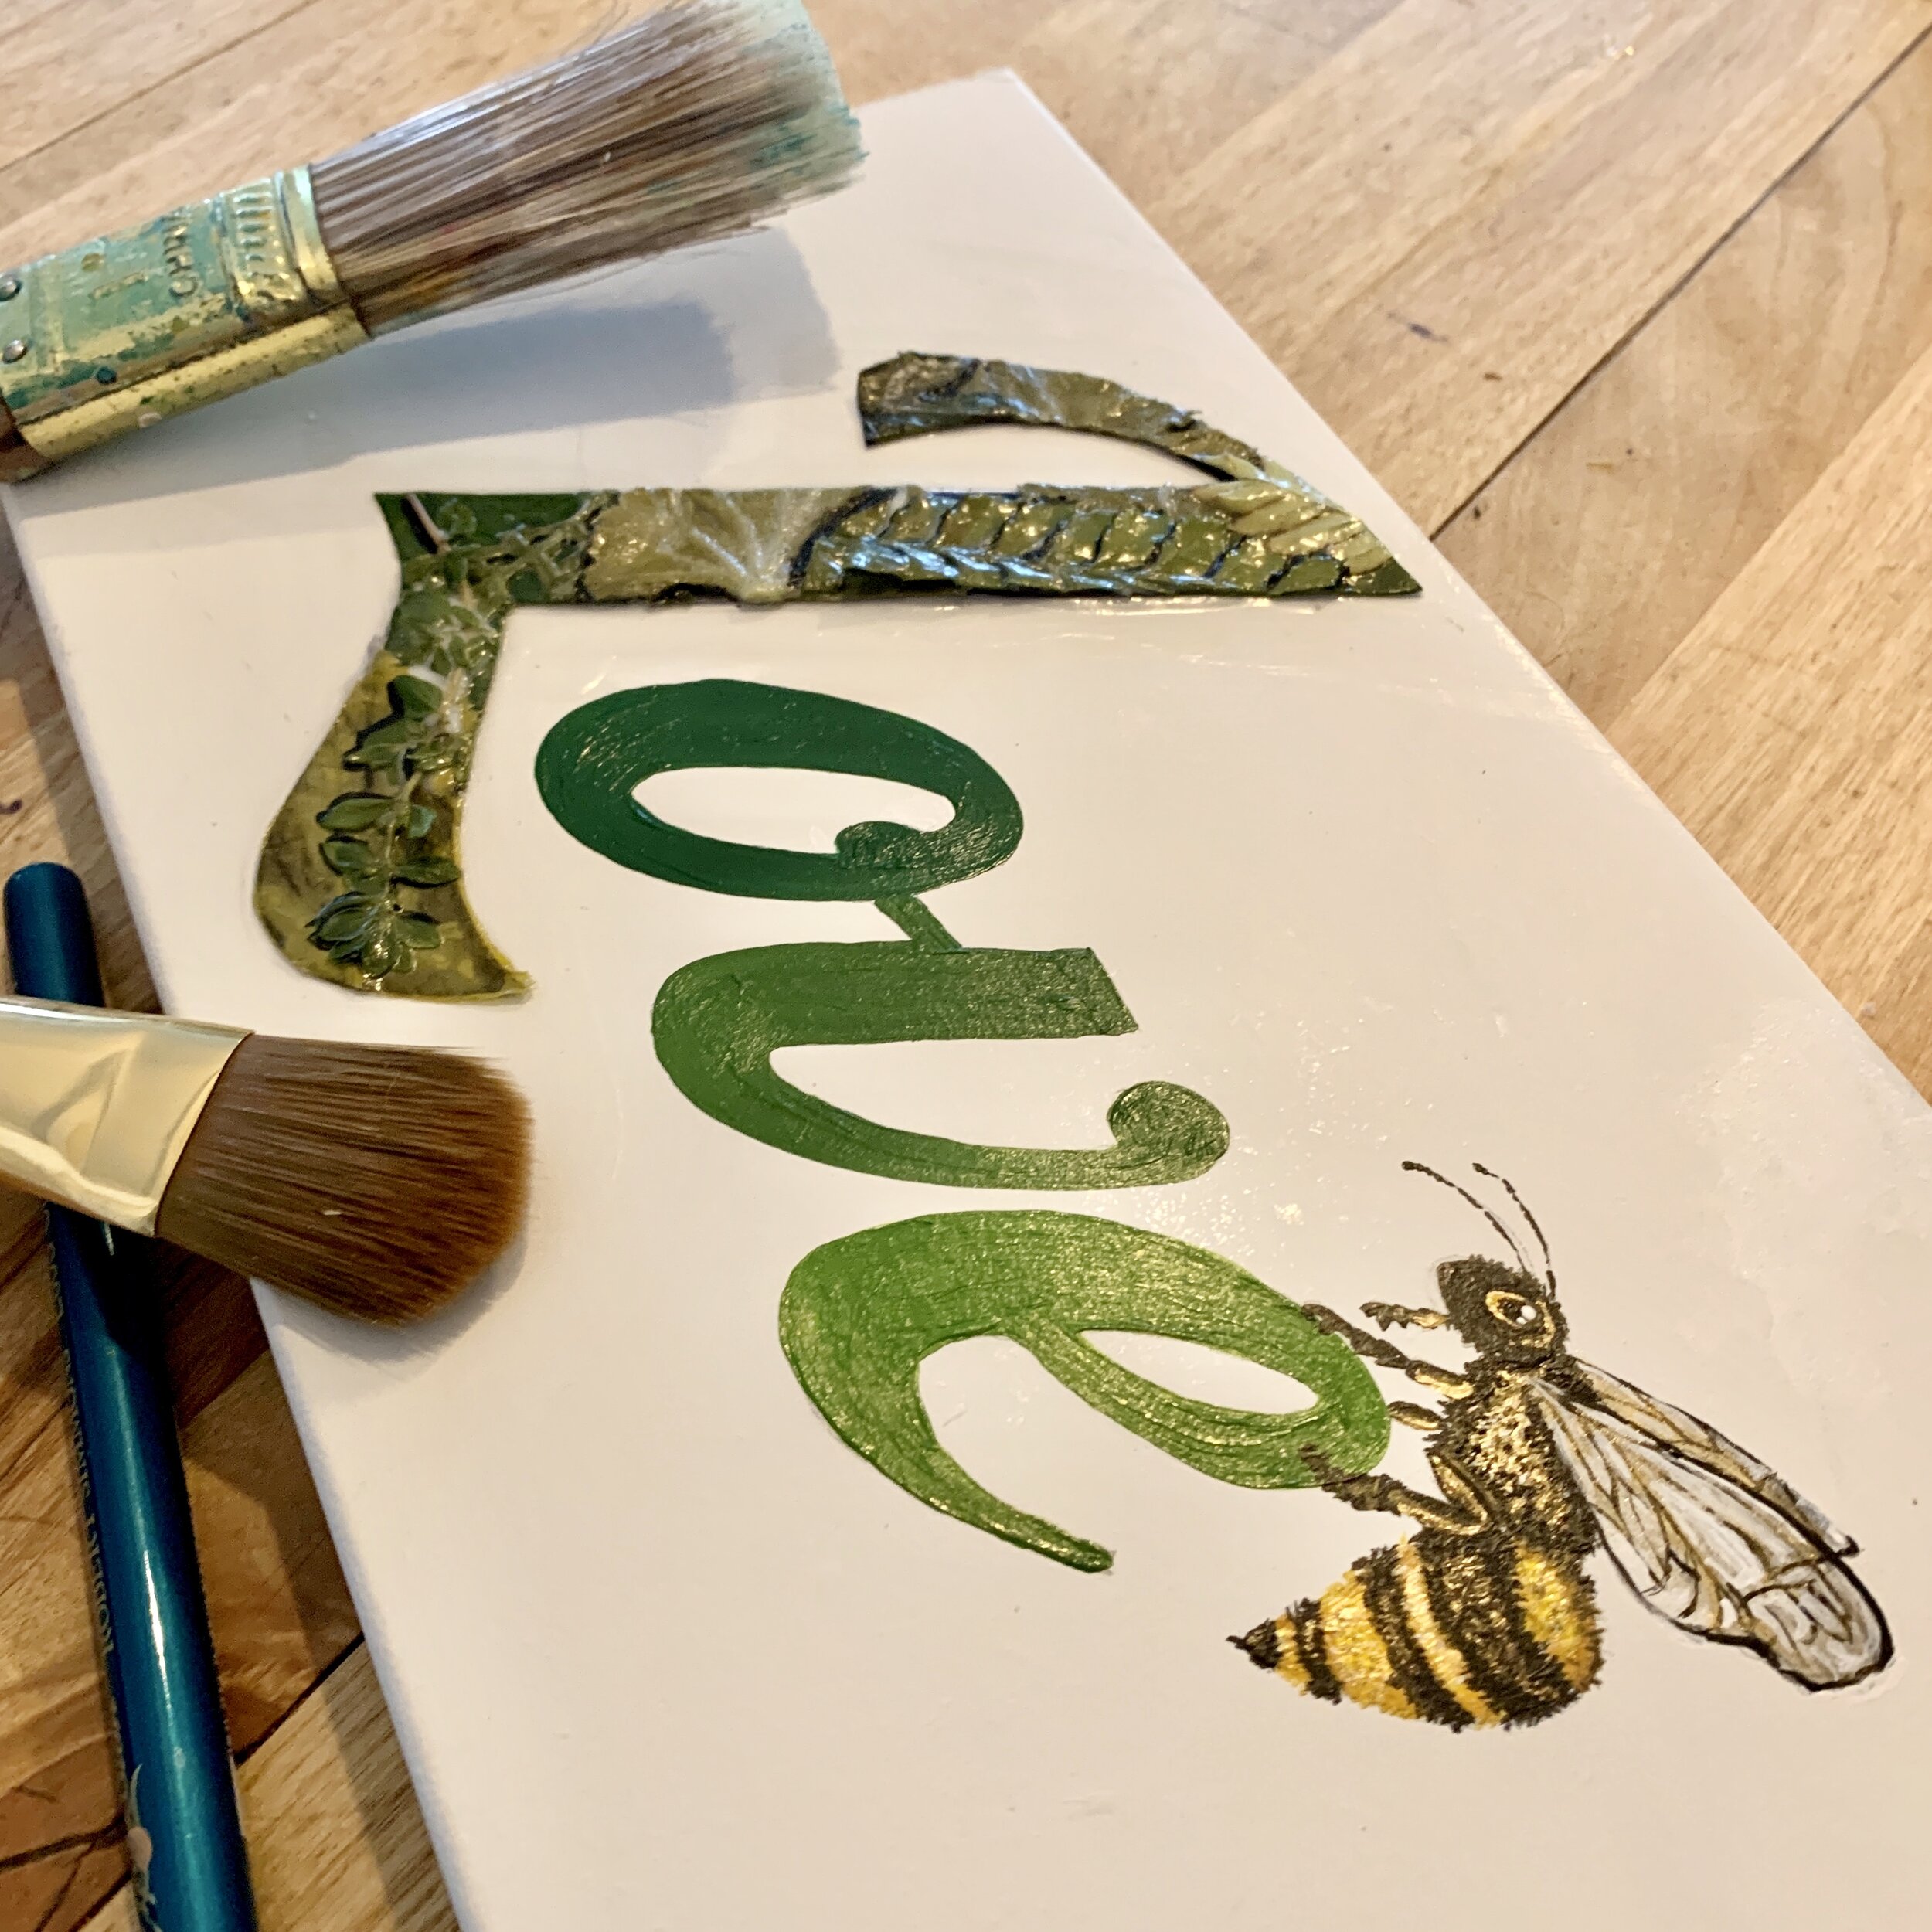
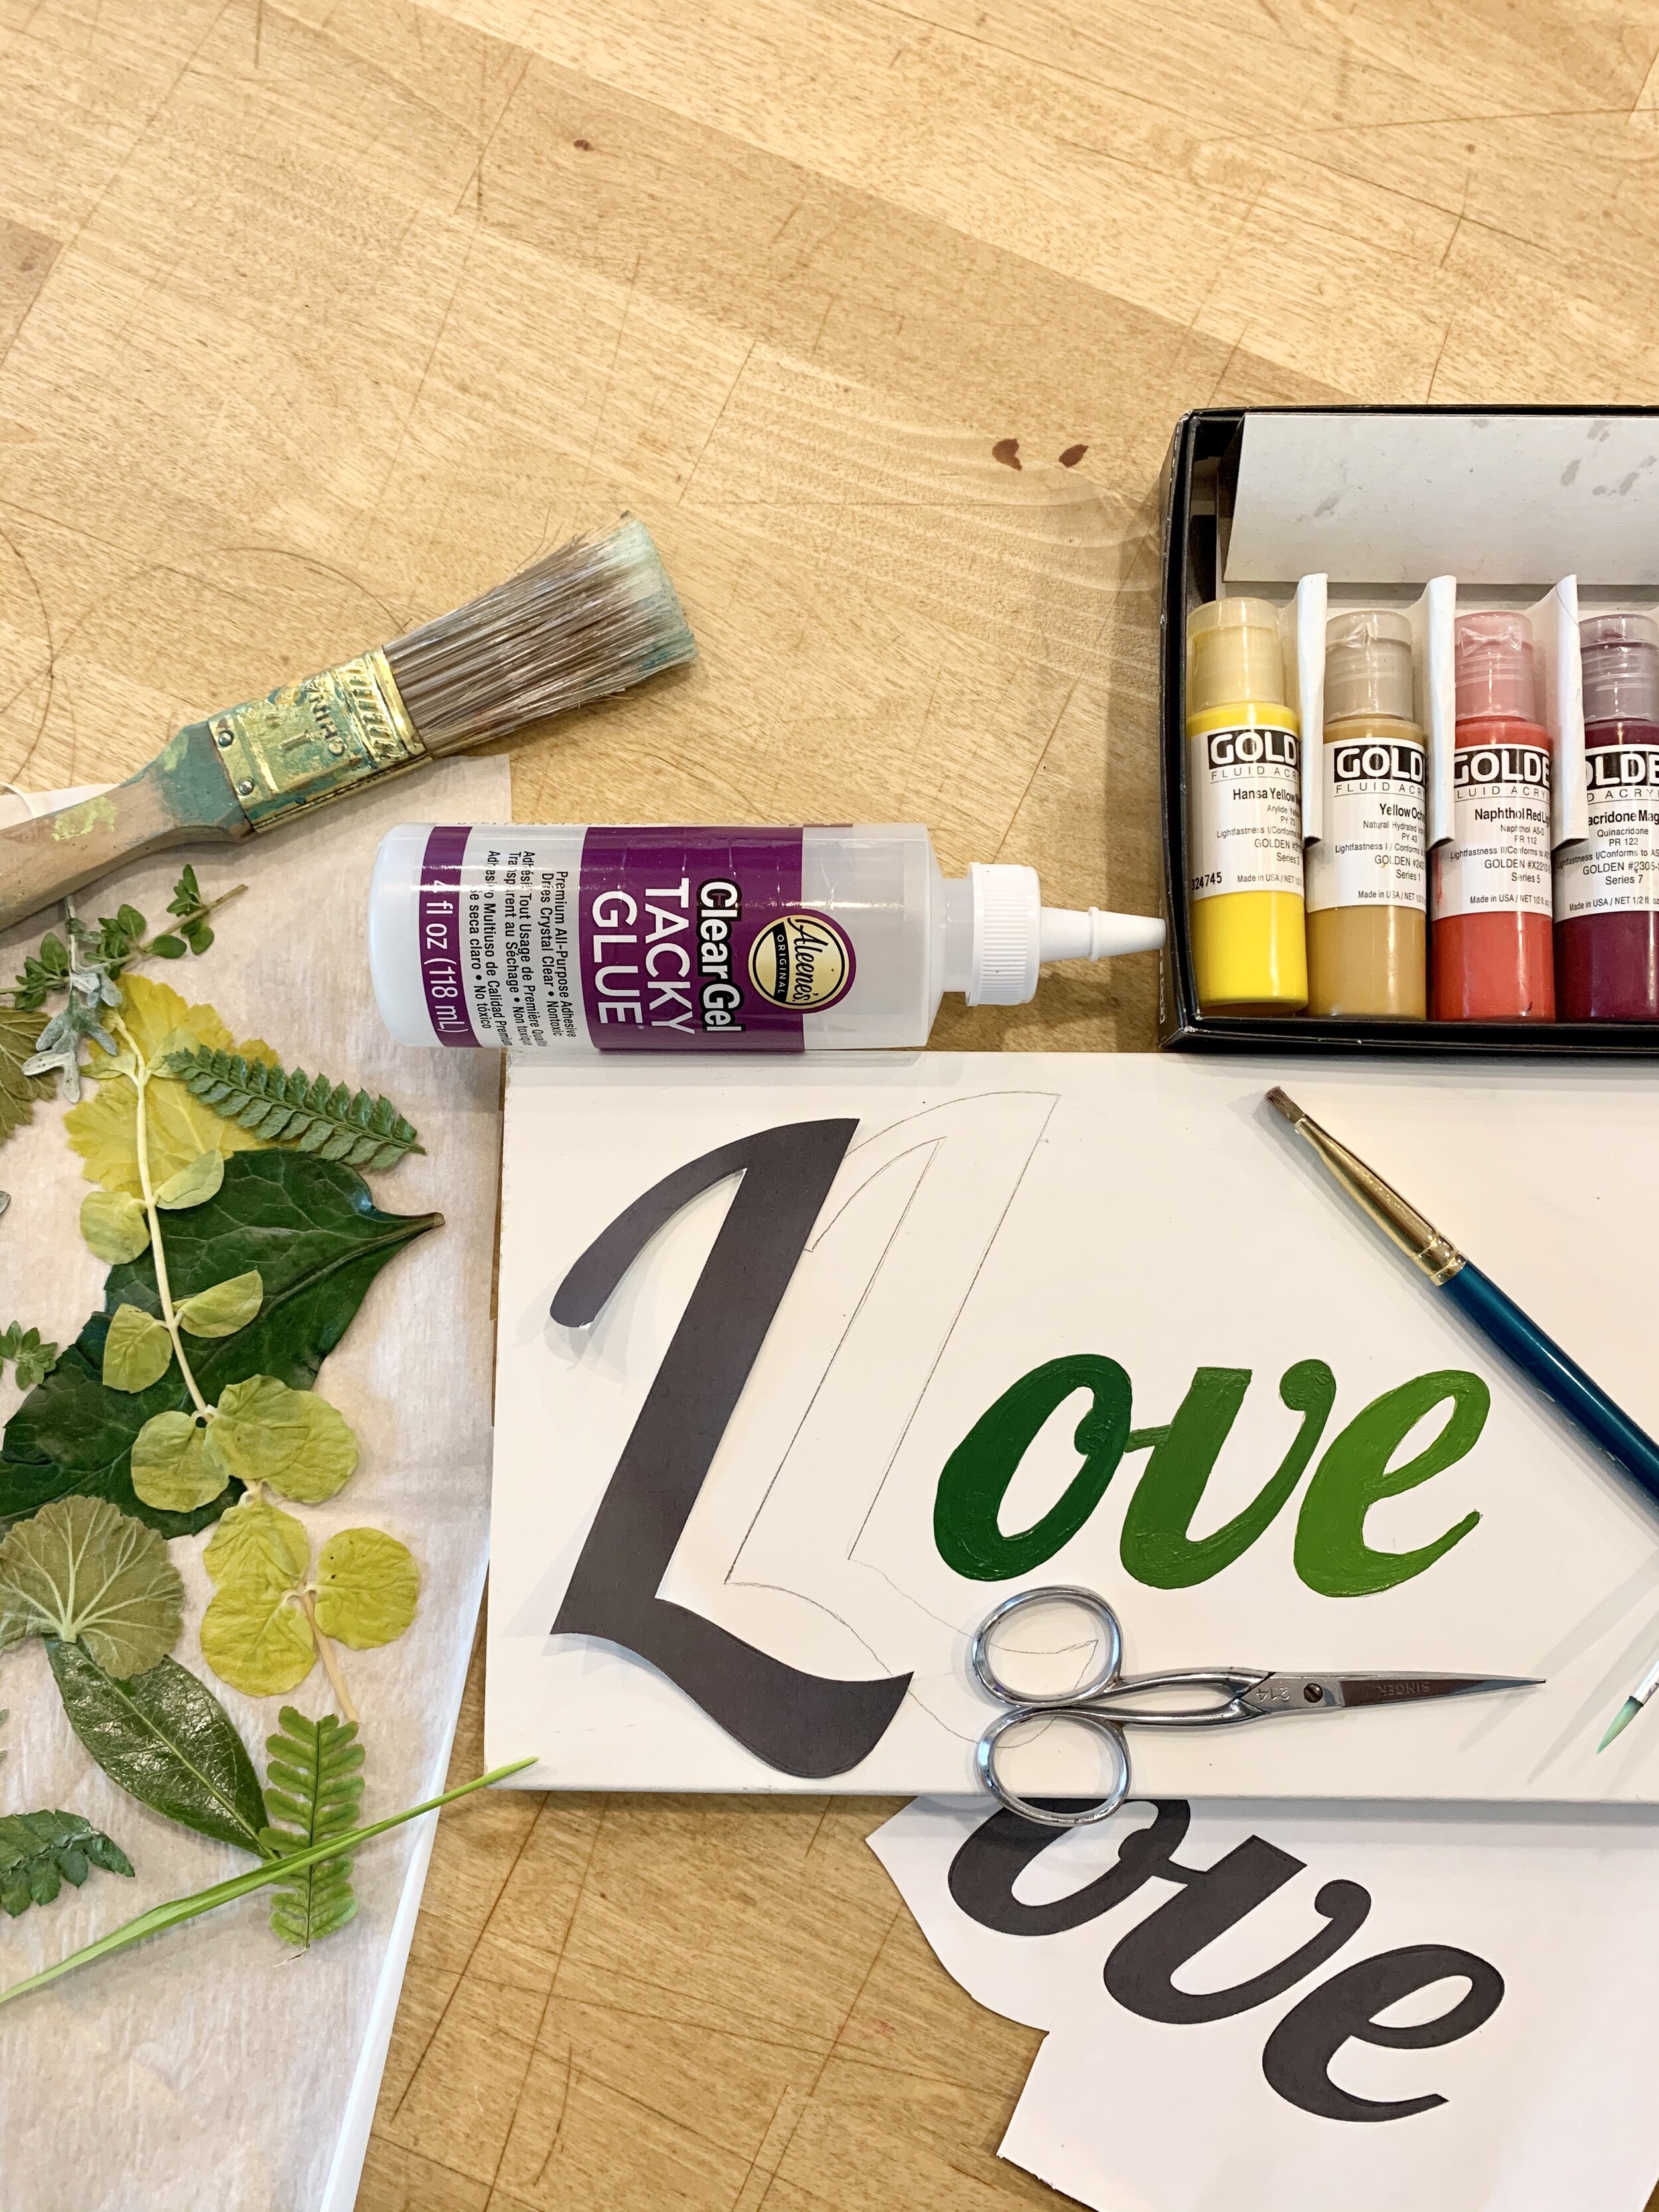
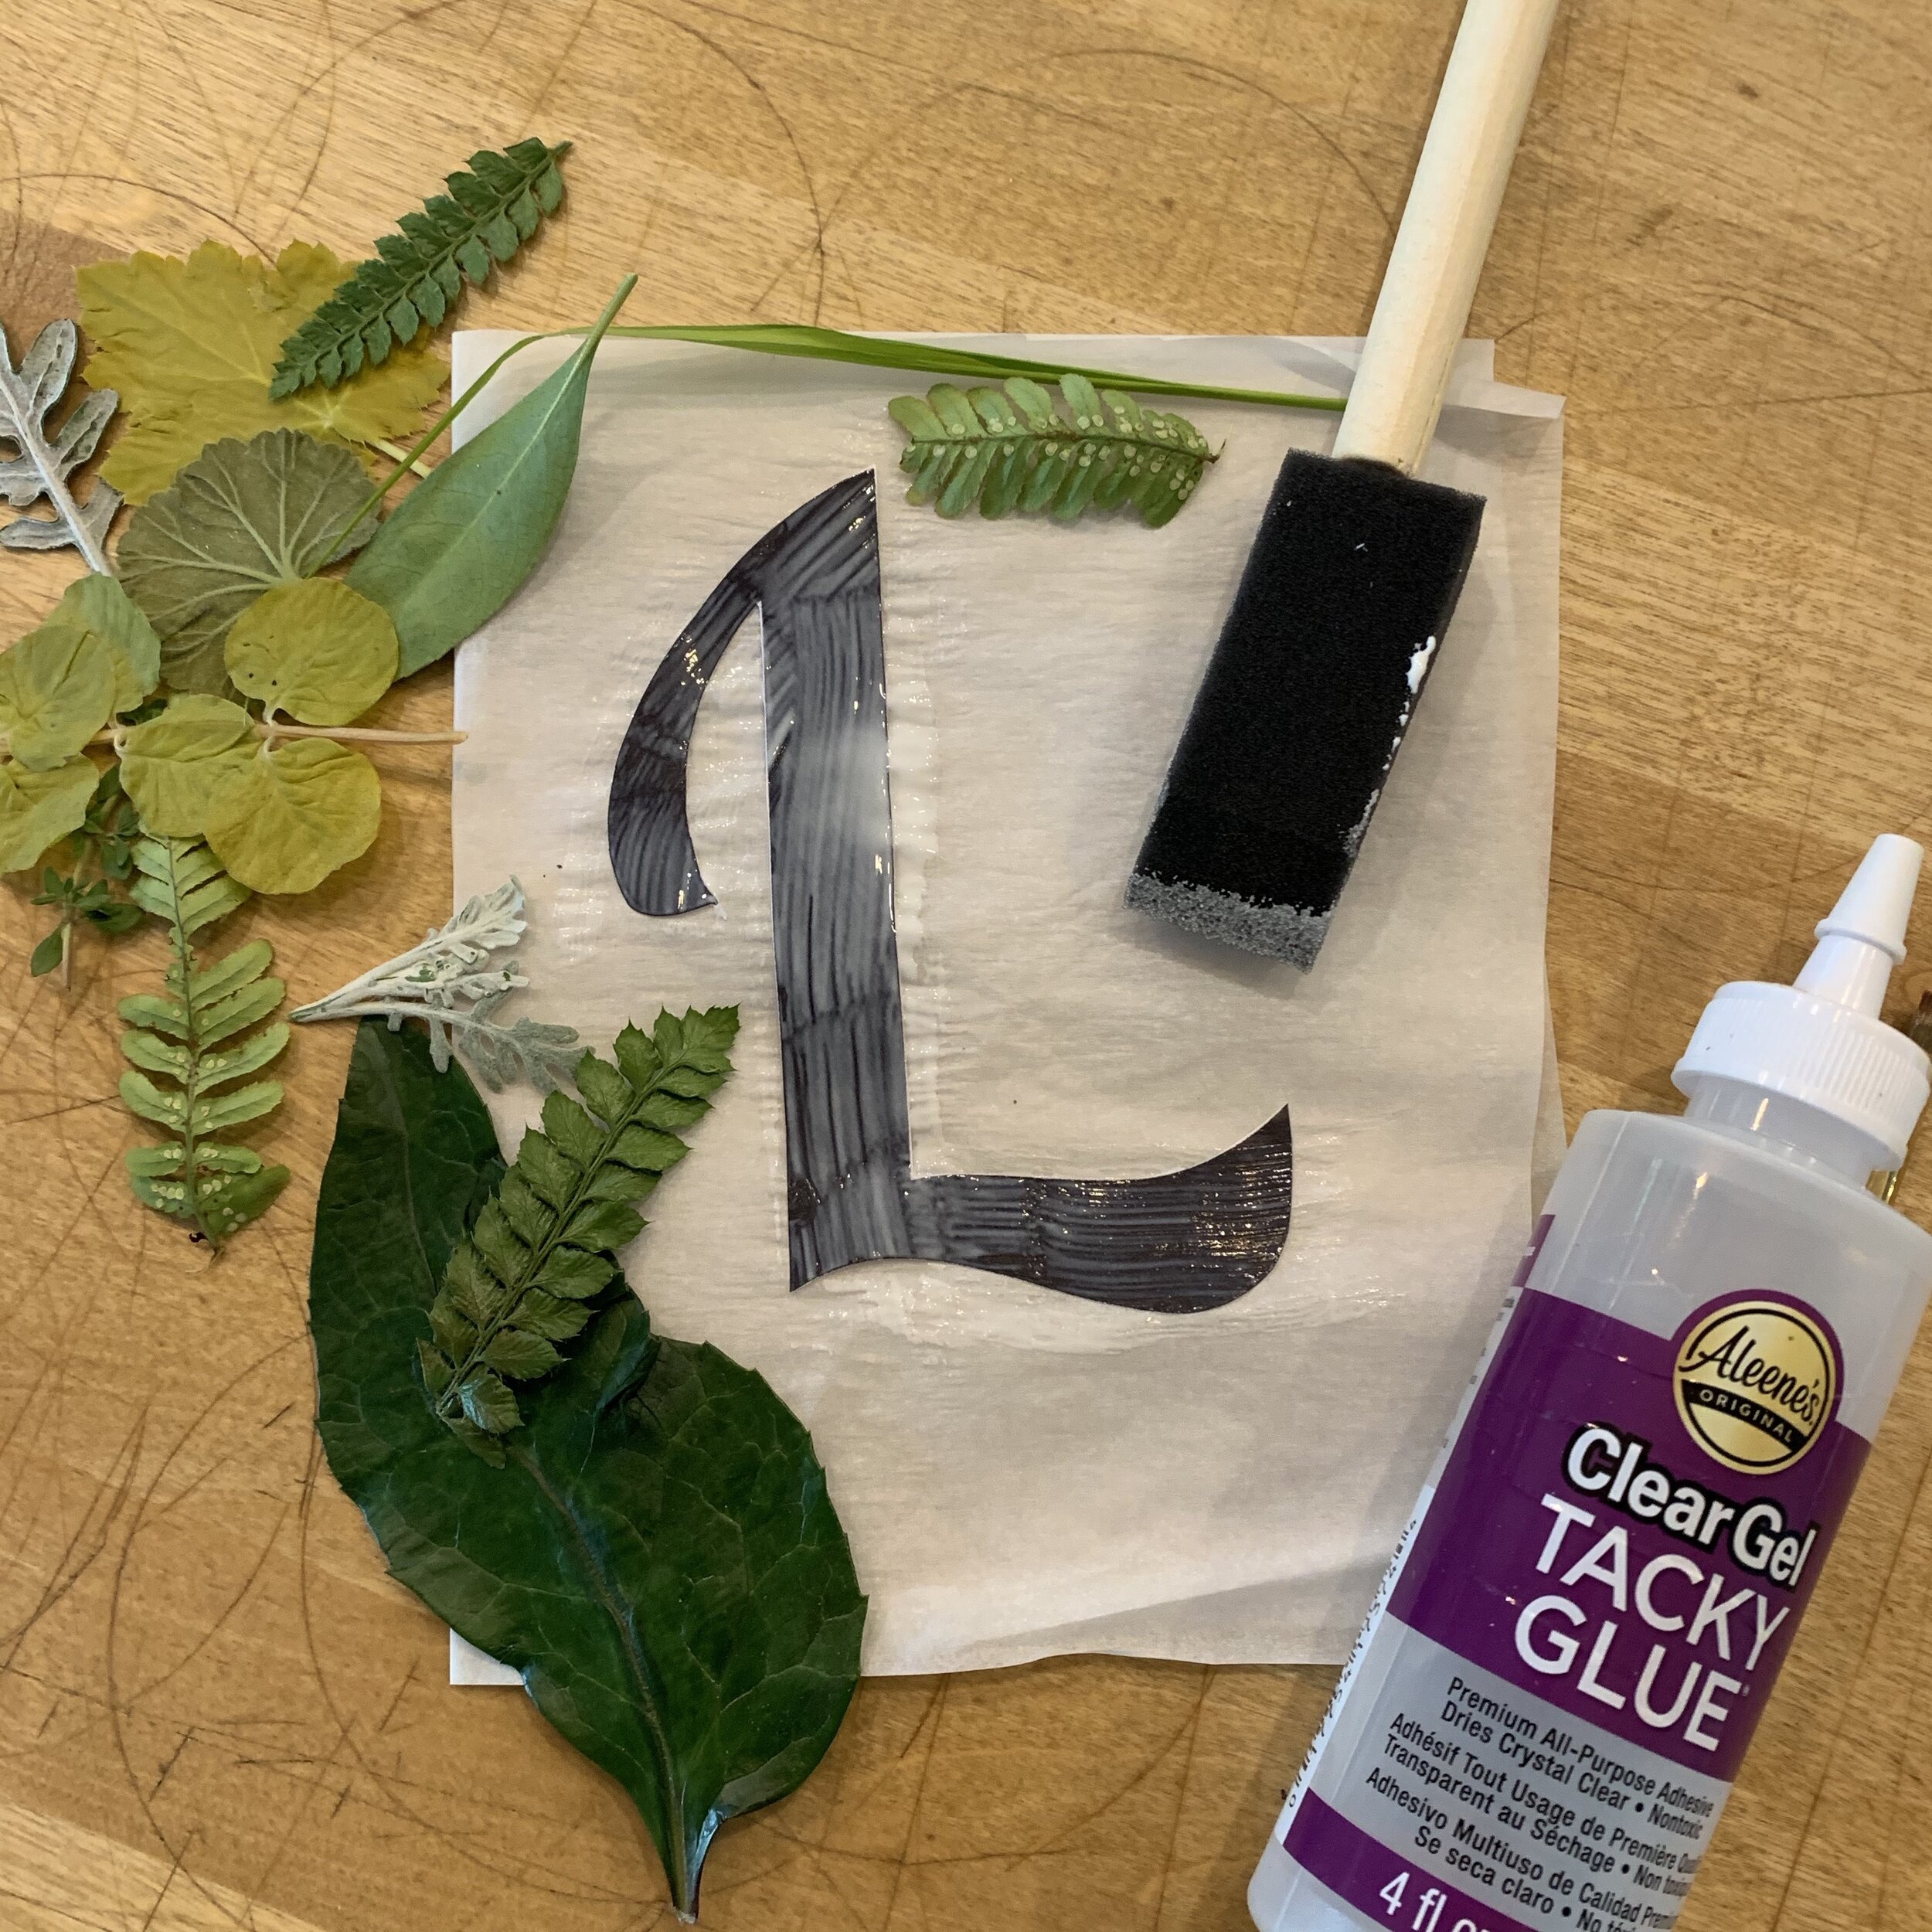
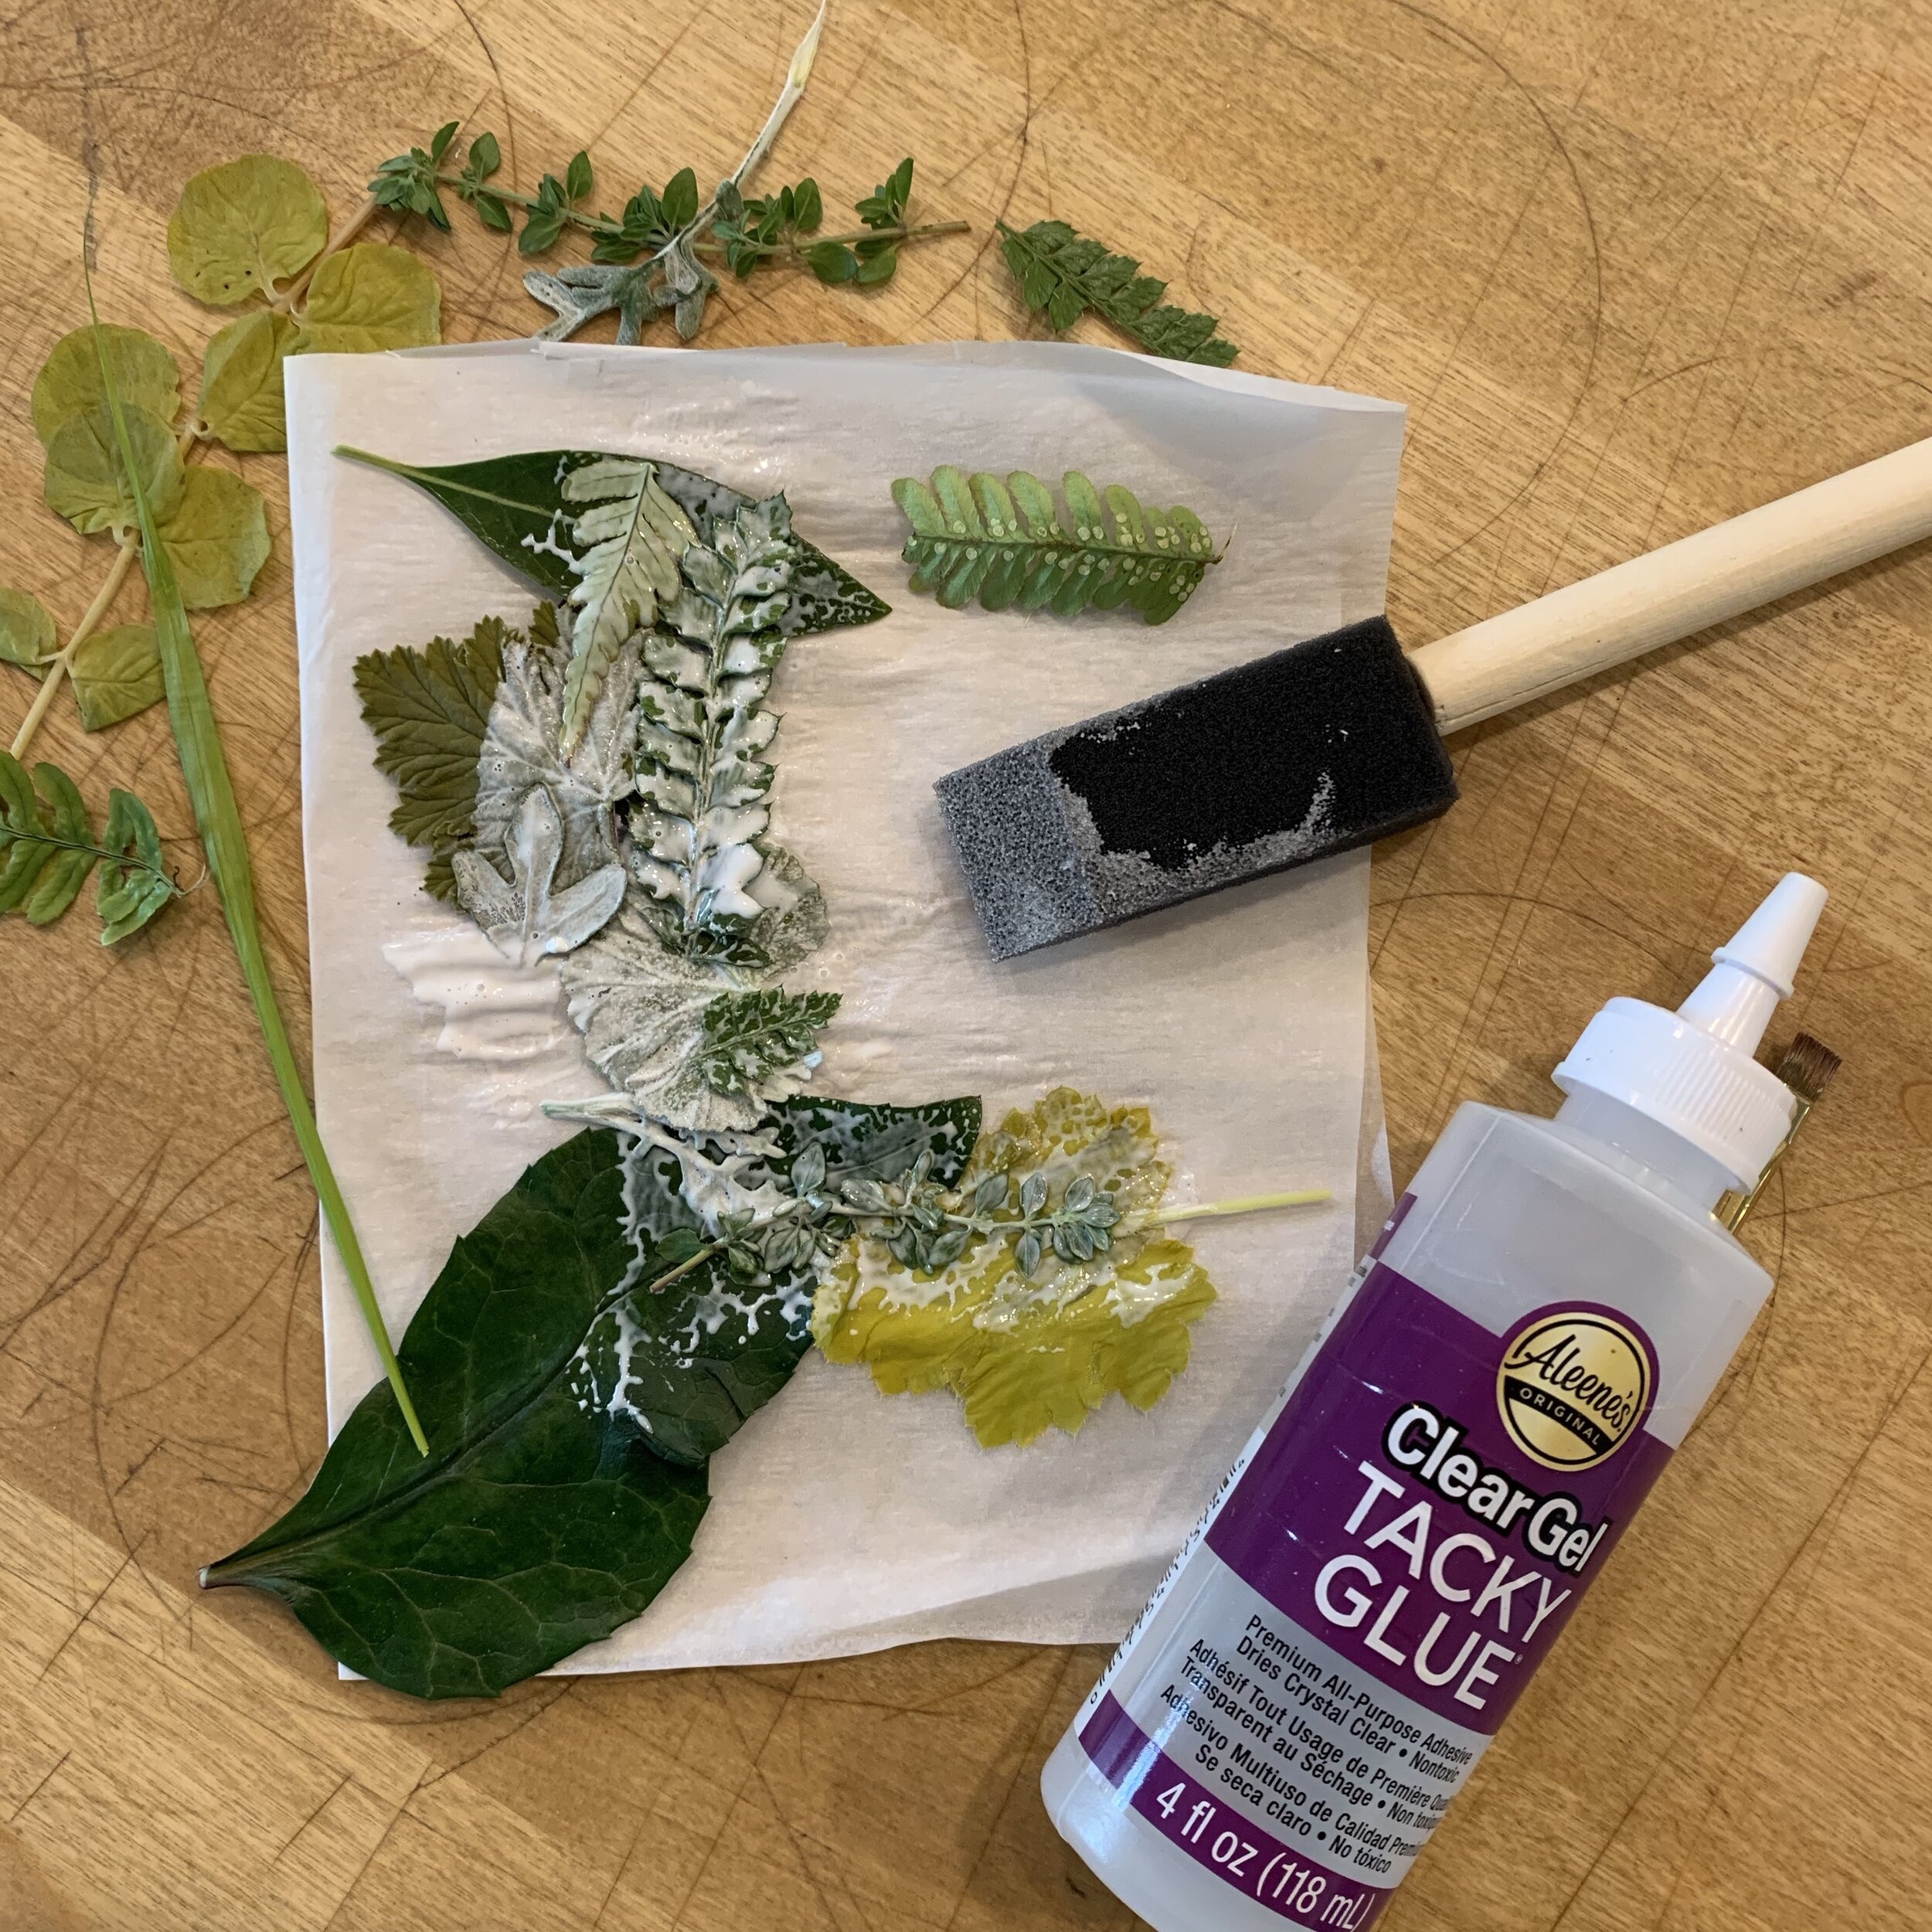
4 (optional). Now you can add some texture to your paint by adding some Iron pressed flowers (refer to our blog post on Iron pressed flowers to learn this craft). You cover part of your design in glue, then lay the flowers and cover them in glue. Wait for it to dry.
5. After glue has dried you can cut out the stencil but flipping it over and following the shape. Then glue the stencil back down to your sign and cover in glue again for a secur finish.
Share your art with your friends, family, and us by tagging @7textures and using the hashtag “ArtAtHome”